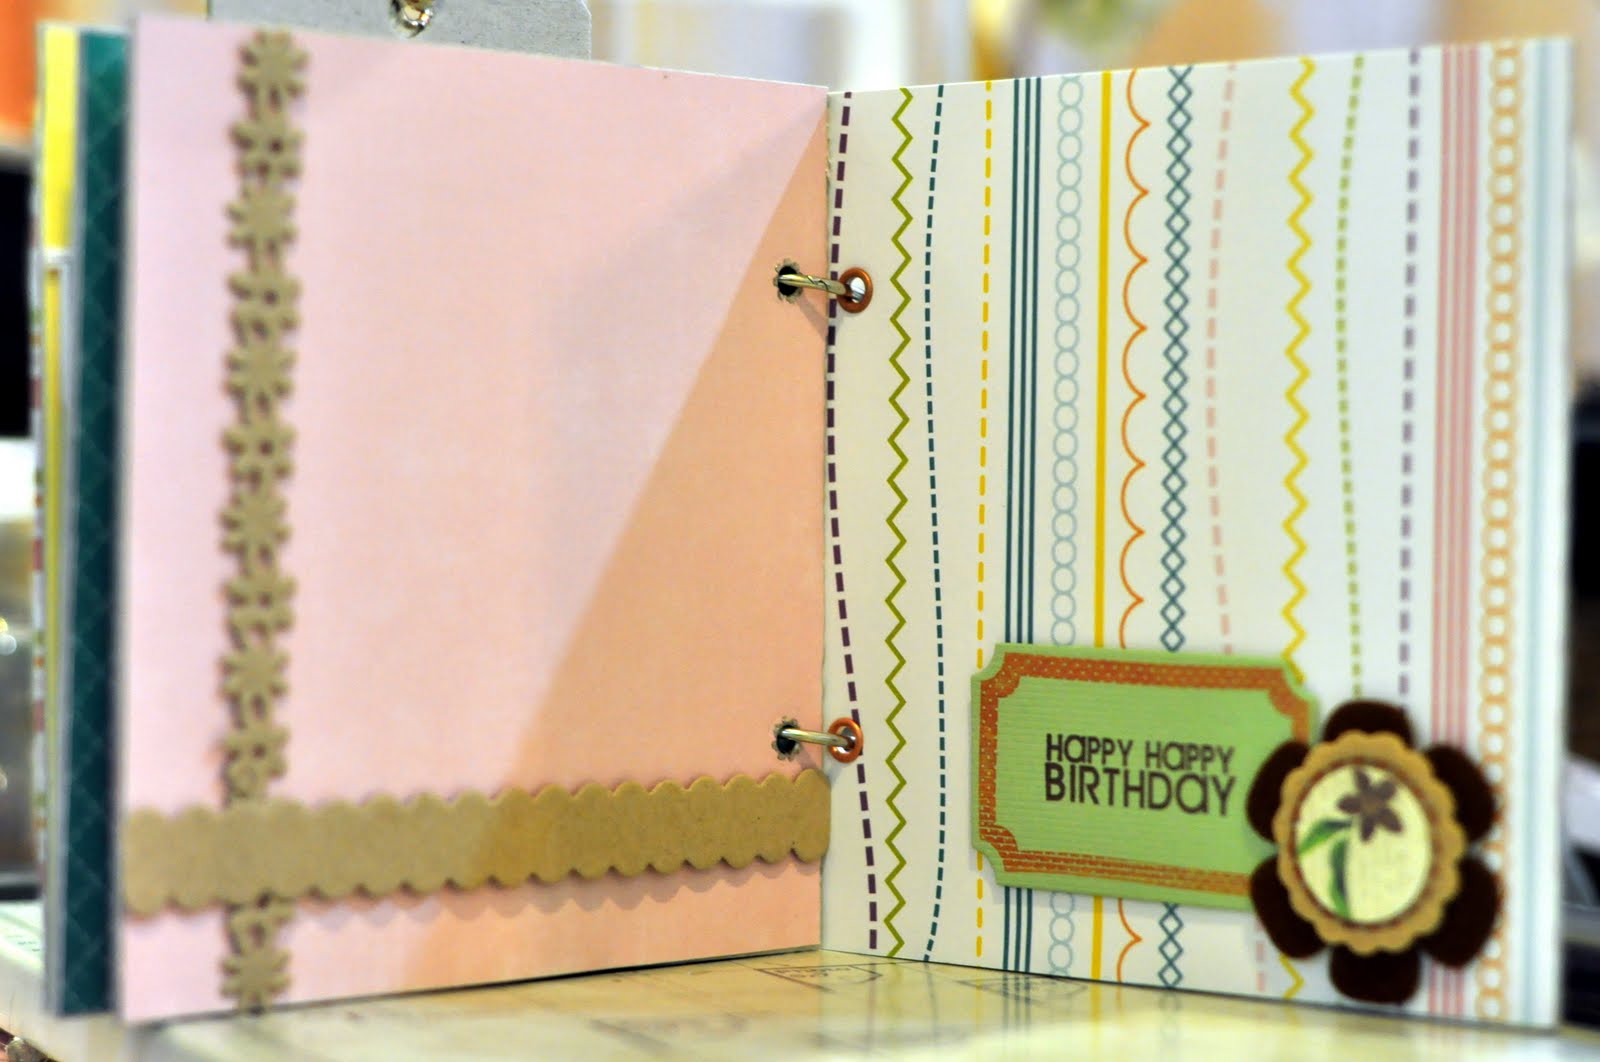
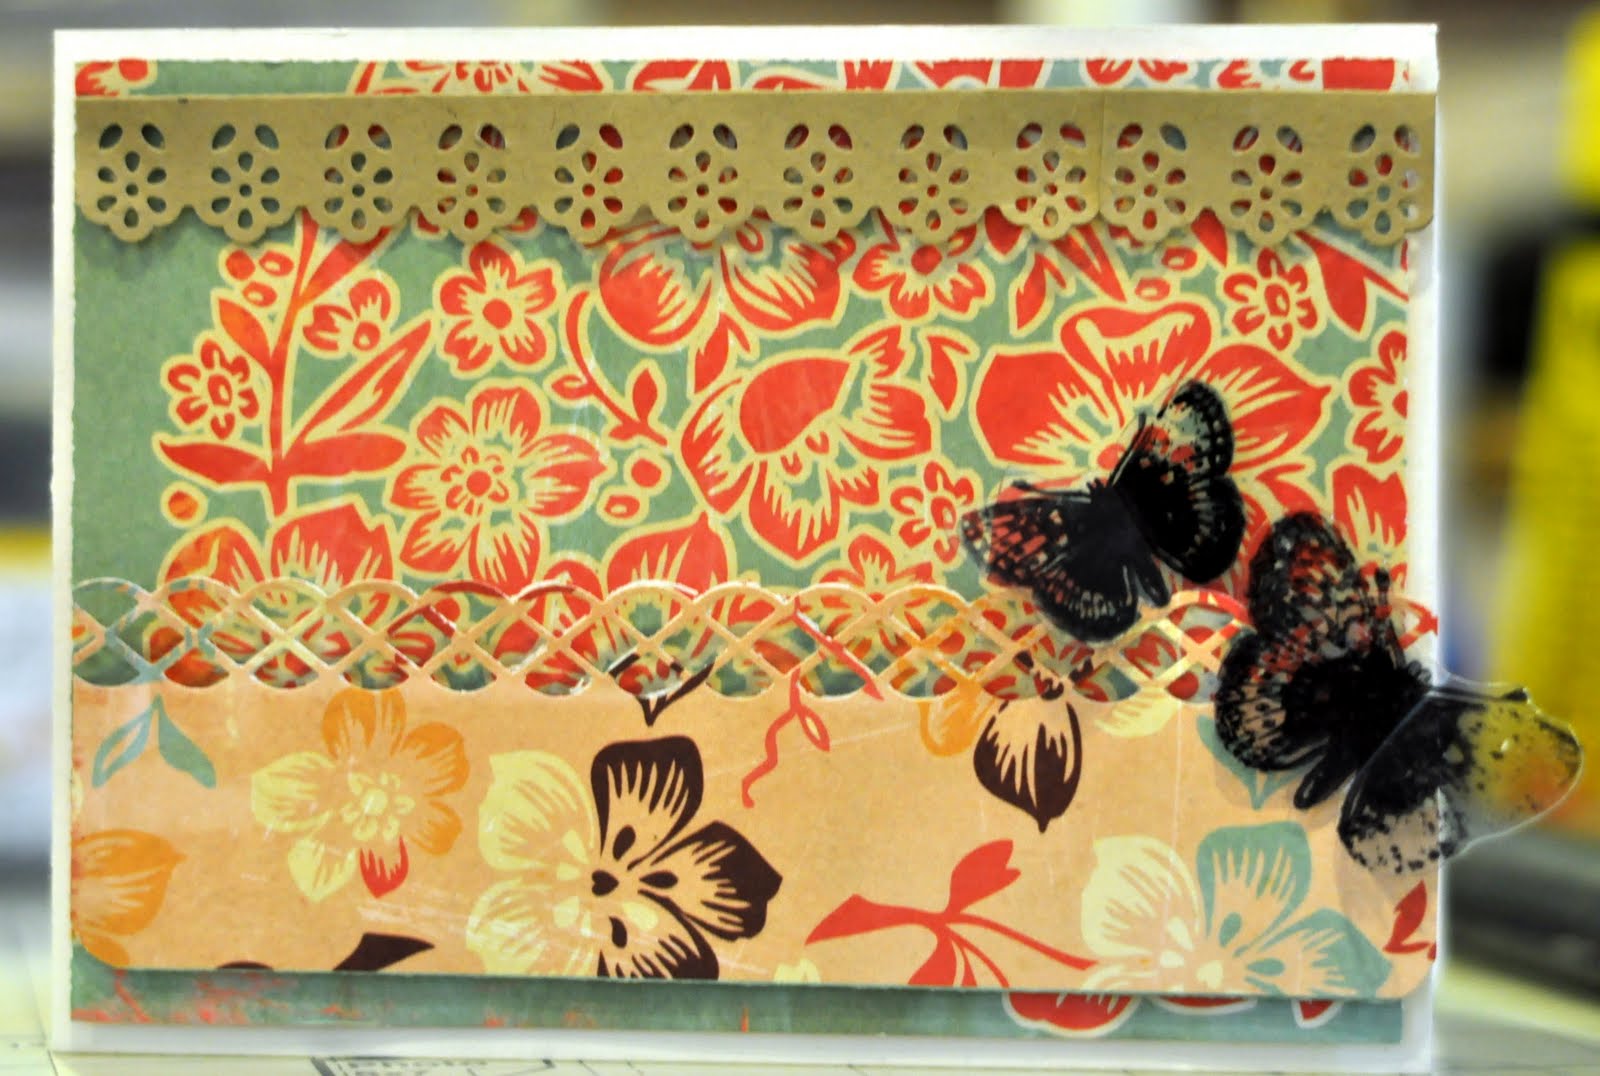
Front cover of the album is embellished with die cut frame and die cut stickers
Thursday, August 11, 2011
Standing Mini Album
Front cover of the album is embellished with die cut frame and die cut stickers
Wednesday, July 20, 2011
Canvas Bookmark / Page Marker
Some easy steps to follow:
1)Slap some medium (you can also use mod podge. I've used Claudine Hellmuth for mine) onto the die cut canvas sheet and some onto the paper
2)Place the patterned paper atop the canvas sheet
3)Wait for it to dry
4)Using a spritzer, spray some water off the back of the patterned paper and rub off lightly
5) You will notice that the image from the patterned paper is transfered off onto the canvas sheet
6) Stamp random areas with script stamp
7) Embellish

Materials Used : Canvas, 7 Gypsies Patterned Paper, Claudine Hellmuth Multi Medium - Matte, Handmade flower embellie, Hero Arts Script Stamp, Hambly Screen Print, Martha Stewart Border Punch, MME Lush Patterned Paper, Ranger Distress Inks, Ribbon
Wednesday, July 13, 2011
Papier Card cum Photo Holder & gel-a-tins blog hop winner
Anyhoo..as with every Wednesday, it's my turn to share a lil project for Papier with you crafty ladies! and what have I got up my sleeves for ya ? a simple lil 4x6 card with a small slot inside for you to add in some photos...a fun idea for you to try I reckon? :)
My DT kit this month had yummo Glitz Design patterned paper and Tim Holtz Coredinations Cardstock..the cardstock was a joy to play with considering it came with embossed polka dots that I could sand and squash to get a two tone effect for my handmade flower embellie..I love making my own flowers and believe you me, the Coredinations cardstock is purrfect! :)
Cover of Card

Inside of Card - Slot for Photos (fits 3 sized photo perfectly ;))

Materials Used : Glitz Design Patterned Paper, Coredinations Cardstock, Ranger Distress Inks, Ivory Cardstock, Stamp, Lace, Tim Holtz Flower Die, Ek Success Border Punch
I'd also like to take this opportunity to announce the gel-a-tins blog hop winner which was selected by our DT coordinator Jess via Random.org! it's none other than,
(#19) Cathy
Congratulations!!! You get to choose from the three stamp sets, Admission is Free, Peace on Earth and Butterfly Love. Just contact us with your mailing information so we can get those prizes out to you! Our address is info@gelatinstamps.com . Congratulations to the winners that were drawn from the blogs of the other DT members!
Thursday, July 7, 2011
Papier Love - Altered Canvas
1) Stamp all round the canvas with a script stamp (or any other background one of your choice)
2) Create a background for photo using rub-ons (I've used the Glitz Design Love Nest rub-on)
3) Tie a bow around the Maya Road sheer tag
4) Adhere photo, tag and flowers
Easy peasy eh? Do try it some time! ;)

Materials Used : Canvas, Maya Road sheer tag, Grosgrain Ribbon, Glitz Design Rub On, Hero Arts Script Stamp, Prima Flowers, Sticker - Basic Grey, Handmade flowers, Ranger Distress Ink
Wednesday, June 29, 2011
Hey Buttercup!
As shared with ya'll in my previous posts, my Papier DT kit this month had Basic Grey papers. This range is rather on the colourful side, but beautiful nonetheless, and matching 'em together for layers was a tad bit tough..but here's what I came up with, hope it inspires you! ;) I hardly ever use patterned papers for my background, but I must say I do like how this turned out! :)
I also had some vintage lace which I quickly turned into a flower ;) It's nice for a change don't ya think? Something different from the usual of just adhering across the page. I also used vintage buttons for the centres..and then I further embellished with some die cut chipboard stickers of the same BG range..
Here's the layout ladies! :)


Materials Used : Basic Grey and Martha Stewart Patterned Papers, Martha Stewart Border Punch, Basic Grey Stickers, Vintage Lace & Buttons
See ya soon!! and Thank you so very much for stopping by my blog and leaving wonderful comments! :) I will be sure to stop by yours real soon when I blog hop later this evening!! xoxo
Wednesday, June 8, 2011
You Brighten My Day!
And when you have beautiful papers by Basic Grey, it definitely makes it all the more difficult to avoid fussy cutting..and layering! Here's the card I'd like to share with you'll..featuring just that..layers! :)
1) Cut out cardstock to 4x12
2) Cut out three strips of patterned paper
3) Place one strip down, punch the long length of the edges on either side for the other two strips and adhere on top
4) Tuck in some fussy cut patterned papers
5) Add on a chipboard sticker / any image
6) Sentiment of course! :)
Materials Used : American Crafts Cardstock, Basic Greay Sweet Threads Patterned Paper & Chipboard Stickers, Ranger Distress Inks, Ek Success Border Punch, October Afternoon Chipboard sticker
Thursday, June 2, 2011
Altered Folder
You can get these folders at Daiso and I find that the Basic Grey Luscious collection are pretty to deco it up ;) Being one that loves fussy cutting, I couldn't resist doing just that! lol!! :) I've also used the Prima Flocked Rub-Ons which is such a cool product! your kids are gonna fun with this piece of craft supply! ;)
Without further ado, here's the project, simple enough for your dear one to execute without much supervision ;)

Materials Used : Basic Grey Patterned Paper, Prima Flocked Rub-Ons, Ribbons, Jenni Bowlin Button, BG Sweet Threads Sticker
Tips :1)Try distressing the edges and fussy cut flowers
2)A bit of stamping will create a more defined look (Try a script stamp for the background)
Wednesday, May 25, 2011
Create Card - Papier
Anyhoo..here's the card I'd like to share with ya'll..my kit this time had lotsa vintage buttons and cards..and I used one of those vintage cards for this post today..I love that lil camera image! simply gorgeous don't ya think? ;)
Just to share a few tips with you crafty friends :
1) Gesso out words / phrases that you don't want...the Gesso effect will give a vintage feel
2) Don't be afraid to glam up a vintage card further. I stamped some text images around this piece
3) Leftovers / scraps left behind by punched out portions can be assembled to form pretty flowers (like what I have done for the flowers on this card ;))

Materials Used : Ivory Cardstock, My Mind's Eye PP, Ek Success Border Punch, Bling, Cosmo Cricket Tiny Type Sentiment
Wednesday, May 18, 2011
Thanks Card - Papier
Off to the card I'd like to share, I decided to go on a one colour theme this time ;) here's a lil how-to:
1) Cut out cardstock to 4x11
2) Cut-out Patterned Paper to 3.8x5.
3) Cut the patterned paper horizontally into
4) Adhere both halves of the patterned paper to the cardstock
5) Stitch both halves together
6) Using the same patterned paper, fussy cut details (if there are details to fussy cut) and adhere and layer with flowers and stamp a sentiment
Materials Used : My Mind's Eye Patterned Paper, Cardstock, Prima E-Line flowers, Pearl Blings, Ranger Distress Inks, Gel-a-tins Sentiment Stamp
toodles folks! catch ya soon!!
Thursday, May 12, 2011
Bingo Card
A quick how-to:
1) Cut cardstock to 4x12
2) Cut patterned paper to 3.8x5.7
3) Adhere patterned paper to cardstock
4) Affix photo corners
5) Slide in the Bingo Card
6) Embellish with flowers, buttons and ribbon
Tip :
1) Photo corners need not necessarily be used for photos only ;)
2) Instead of a Bingo Card, you can always opt to use a photo to make a photo card

Materials Used : Ivory Cardstock, Vintage Button, My Mind's Eye Patterened Paper, Bingo Card, Prima Flowers, Pearl Bling, Seam Binding
Wednesday, May 4, 2011
Altered Magnet
Anyhoo, when I received my Papier DT kit for this month, it was filled with tonnes of yummy vintage goodies that I just wanted to dive into and use! but I held sum back for my upcoming projects and only used a few for this magnet *hehe*
A lil tute:
1) Distress the edges of the Melody Ross chipboard with distress inks and stamp on top of it with a script / text stamp
2) Adhere the cihpboard to the box and then continue to layer with lots flowers (I've used the 3D flower die, you may even opt to use Prima flowers)
3) Layer two different butterflies (the bigger one is courtesy of a dear DT friend who had been extremely nice to share some with me..you know who you are dear!) ;))
4) And lastly, I added the two Jenni Bowlin chipboard buttons
easy peasy huh! I know I havent dropped by your blogs as much as I should, but please forgive me... I will be sure to come by later today and leave you some love and definitely to be in awe at the things you have to share...till then, cheerios!!! :)

Materials Used : Magnet, Melody Ross Chipboard, Text Stamp - POD, Sizzix 3D flower die, other flowers, Jenni Bowlin Buttons, Martha Stewart Butterfly Punch and Slice Butterfly, Twine
Wednesday, April 27, 2011
My Red Shoes
I choose to scrap a pic of my Missy A using her fav red shoes a dear friend got her :) Believe me, she's crazy over it *lol*
Off to the layout, it's a two photo layout and the potrair photo is layered with a chipboard baroque die cut. The rest is layering using the Prima flowers & AC Pebbles that also come with the kit ;)
The alphabet stickers were layered with cardstock and adhered to the layout using foam dots.
Off to the layout we go ! I'm also submitting this layout for the Scrap-It-Lah anniversary blog hop challenge! :)


Materials Used : Echo Park PP, AC Pebbles, Prima flowers and Ribbon, Tim Holtz Baroque Die, Pink Paislee Alphabet Stickers
Wednesday, April 20, 2011
Party Mini Album : Papier
Using the store kit again this week, I made a simple & fast mini album. It's an 8 page mini which you can fill up with what you wish to. I didn't add any pics so you can actually decide for yourself, what you'd like to put in..!
and when I said in my first post that this kit is perfect for a lil child, I sure wasn't kidding ;) you'll soon see why..
Cover page:
Tip 1: Paint the chipboard and tie a bow at the hole of the keychain ring
Tip 2: Make a pocket in the front and put in a tag. You may embellish the tag with a photo etc.
Page 1:
Tip 1: A lil bit of fussy cutting
Page 2:
Tip 1: Create a 'gate' like layer. You can open up to add a pic or some sentiments and quotes
Page 3:
Tip 1: A strip of balance patterned paper
Tip 2: A kraft border
Page 4:
Tip 1: Embellish the cupcake chipboard with kraft border and bling
Page 5:
Tip 1: Add some kraft borders along the sides
Page 6:
Tip 1: Add a sentiment and flower embellie
Materials Used : Echo Park Patterned Papers, Maya Road Chipboard, Bazzill Basics Cardstock, Sizzix Tag Die, Prima Ribbons, Prima Flowers, Bazzill Basics Kraft Borders, Bazzill Basics Bling
By the way, there's still lots of supplies left to go around despite the 3 projects I've made so far! so this kit sure is value for money! :)
Wednesday, April 13, 2011
'To Do' Book for Papier
So, using the store kit this month, I made lil a 'Things To Do Today' book! I simply photocopied a list template that I found at home (lucky me *lol*), cut out a piece of cardboard to the measurement of 5x8 and embellished it with the cutesy embellishments and patterend paper from the kit!
It's very easy to make and I'm sure you'll find yourselves organized in no time! :) Here's the project I'd like to share with you sweeties! :)
Wednesday, April 6, 2011
Little Girl Card
Materials Used : Echo Park PP, Martha Stewart Butterfly & Border Punch, Cardstock
Wednesday, March 30, 2011
Distressed Card
1) Stamp the background with a stamp of your choice
2) Die cut 2 sizes of scallop circle (or simply punch two sizes if you havent got a die cut machine)
3) Stamp your image on the smaller size
4) Stamp a border on either side
5) Distress to your heart's content (like what I've done here ;) *hehe*)
6) Layer the circles one on top of the other
7) Stick them on top of the cardstock
8) You're done! ;)
Thursday, March 24, 2011
Card Quick & Easy
All you need to do is:
1) Cut out a 4x12 cardstock & fold in half
2) Adhere a piece of 4x6 PP on top of the cardstock
3) Punch out two strips of two different PP using different border punches
4) Adhere to the top and bottom of the card horizontally
5) Stamp some butterflies on a piece of transparency & adhere those to the card too! and you're done!
Here's the card ladies,
Materials Used : Ivory Cardstock, Cosmo Cricket PP, POD Butterfly Stamp, Martha Stewart Border Punches, Staz On
Wednesday, March 16, 2011
You're Sew Nice!
I love sentiments that are cute! but then again who doesn't isn't it! lol!! :) Anyhoo...here's a quick post by me for my DT project at Papier..it's a window card using the ever famous lady form stamp by Hero Arts..! I honestly can't help using it cause it's so gorgeous!!!
I've also used two different embossing for the outer and inner sheet of the card..plus a lil bit of distressing here and there. I've also used the Martha Stewart border punch to create borders on the card and added on a lil Webster's Pages bloom..
Here's my card dearies..
Wednesday, March 9, 2011
Card for Papier
My DT kit this time had Cosmo Cricket papers which were mighty fun to play with..! the colours are vintagey with a wee bit of washed out effect which are some of the criterias that I look out for..I'm old at heart..what can I say *lol*
I also used a bit of distressing embossing powder for around the edges of the card and topped it off with some distress inks too..then the rest of it is basically layering..lots of it actually! lol ;)
Anyhoo..here's my card dearies!
Materials Used : Cosmo Cricket PP, Ivory Cardstock, Spellbinders die, Jenni Bowlin Chipboard button, Webster's Pages bloom, Ranger Distress Embossing Powder, Lace, Ranger Distress Ink, Fiskars Stamp
Wednesday, March 2, 2011
Pocket Card
It's very simple..it works like an ATC..all you need is to make the pocket and then slot the card in! I embellished the card with a stamped lady image using the Hero Arts Stamp (I {heart} this image) and the pocket was made and embellished using Cosmo Cricket PPs (which were also fussy cut) and a touch of handmade bloom! ;)
Simple and sweet? ;) Here's the card..