Showing posts with label Silhouette America. Show all posts

Saturday, September 20, 2014

Haunted House Deco

Hello there Doodlebug fans!! I've something to share with you today in conjunction with the upcoming Halloween celebration. It's nothing but a deco piece that is super easy and fun to make!

Now, no matter how 'scary' a celebration Halloween is supposed to be, Doodlebug's super cute line for this Halloween is much too adorable. It's a pity we don't celebrate Halloween here in Malaysia but I still had a ball creating so many projects with my stash!

For this project, I used a Silhouette cut file and embellished with tonnes of Doodlebug cuties

Here's my project:


Some Close ups


Materials Used:

Item:4319 spooky sprinkles double-sided cardstock
Item:4322 itsy bitsy spiders double-sided cardstock
Item:4359 halloween diecuts craft kit
Item:4367 ghouls & goodies icon sticker


Saturday, June 21, 2014

Tinkerbell Inspired Banner

Hello there!! This month the Design Team is sharing projects inspired by vellum. I'm sure you've been amazed by the inspiring projects so far. Today I'd like to share mine :) It's a banner that I made for my little girl's Birthday party which was to a tinkerbell theme. I knew the vellum paper by Doodlebug would be just perfect! :) 

The vellum was used for the leaves and layers of the banner pieces and what I did was to place the banner at the dessert  table. Here's my banner


Part of the banner in full

Close-ups of the banner pieces. I layered it on top of a plain coloured cardstock and also tucked some vellum leaves behind the flower


Materials Used:

Silhouette Cut file


Tuesday, April 8, 2014

Pull & Flip Mini Album

Hi there! Spring is here!! Oh at Doodlebug at least *lol* :) And I went to town by creating not 1 or 2 projects, but 4!! That's how awesome this collection is. 

What makes it even better is that this collection is so versatile, that you dont need to just limit yourself to making Easter themed projects. For instance, what I have made here is an envelope pull to flip mini album.

A little bit about this project:
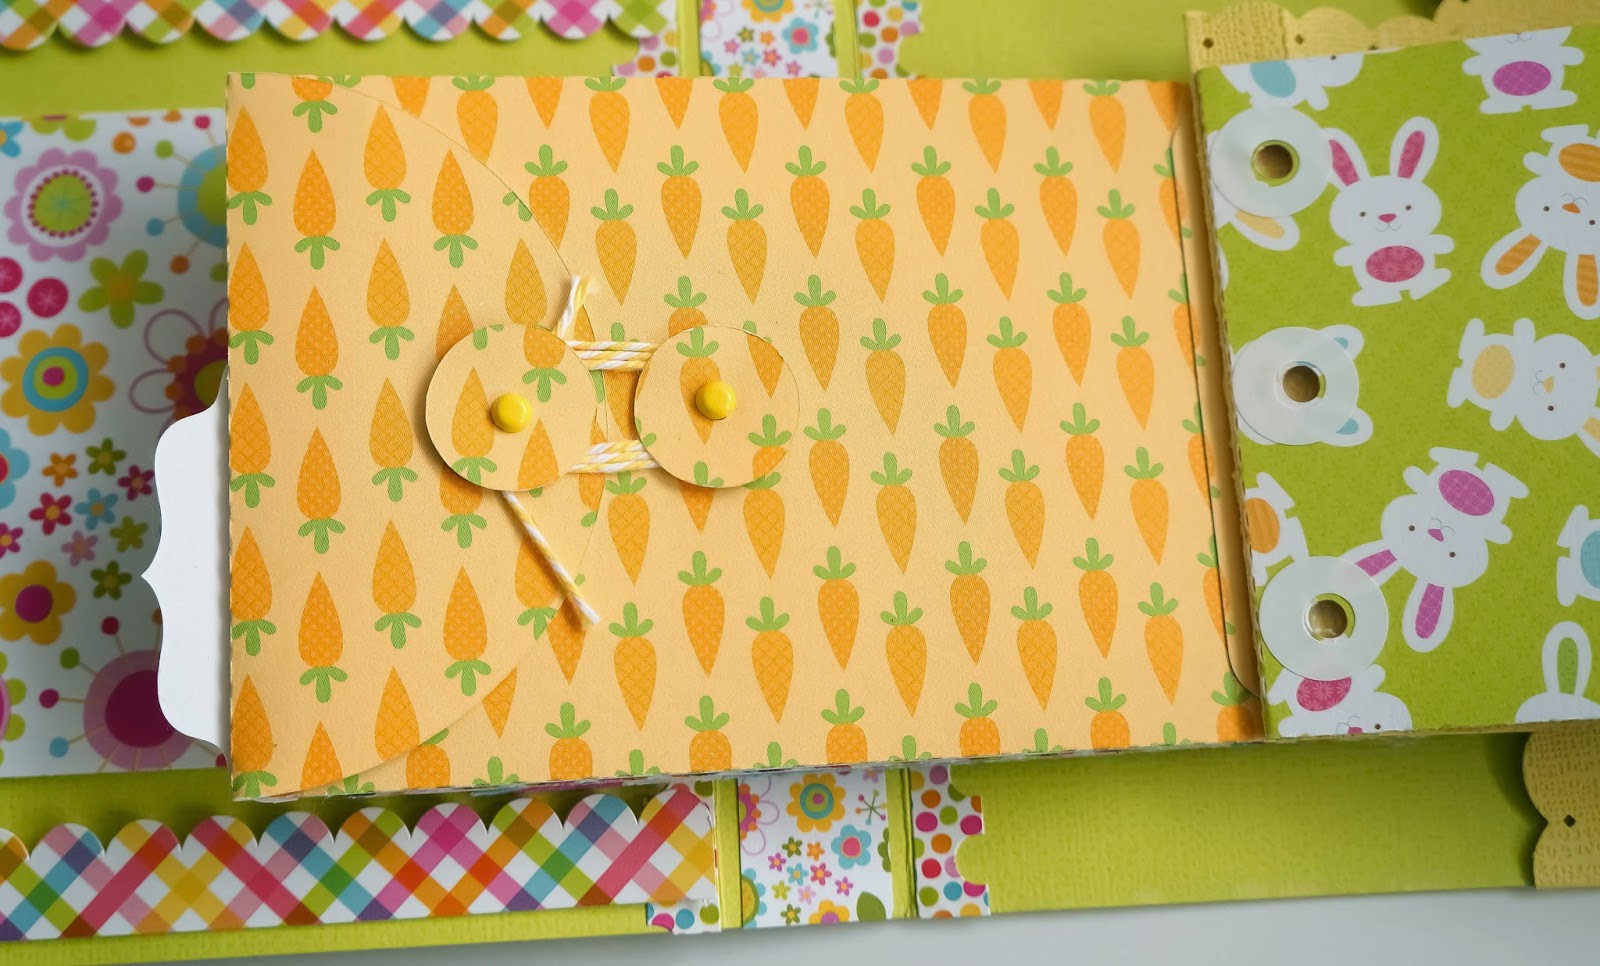
1) Each page of the album is actually a tie string envelope. I made this using a Silhouette Cameo file
2) The album contains photos of my second bub when she was just born! :) 
3) Pull, the little pink tag at the end to see the album flip page by page on it's own. It's almost mechanical lol!


 The Cover of the mini album

Back of cover & first page

First page of the album

This is how the album looks page by page

This is how the envelope looks

Doodlebug Designs Inc Materials Used:


Thursday, March 13, 2014

Love Layout - Doodlebug's Kraft in Color Collection

Hello! hello! Today I'd like to share with you a layout made using the Kraft in Color collection that is part of Doodlebug Designs' winter release. The layout was put together using my trusted silhouette cameo, some stitching and of course the lovely sequins by Doodlebug! The sequins are pretty awesome! each bottle contains ombre coloured sequins and they are perfect! The papers with their coordinating patterns are great to work with too! 

What I did was to cut out the bubble like pattern that's used for the background, from my cameo. Then, the circles that were left behind were flipped over to reveal the coordinating pattern of the patterned paper I used for the bubbles. I then stuck them slightly away from the empty bubble to create more layers. I hope I'm not confusing you here lol!!


The complete layout

I created little tab pages to layer the photo on

Some sequins at the corners and stitching 

Materials Used:

Friday, February 28, 2014

Treat Bag & Card

Hello there!! Hope you lovely crafters are having an amazing time.. :) I cant believe January flew by...and now looks like February too! These days, time flies so fast dont you think? :)

Anyhow, I'd like to share 2 projects I recently made to share with you! First one up, is a treat bag whilst the second, is a card

Here's my first project:


I used a Silhouette cut file to make this. I also added some die cuts, punch outs an handmade flowers. All of course using p13 papers! :) Here are the papers I used for this project:


MAŁA CZARNA  /  LITTLE BLACK DRESS

UJĘCIE  /  SNAPSHOT

ŚLUB W LAS VEGAS   /   WEDDING IN LAS VEGAS

---------------------------------------------------------------------------------

Next up, is a card. I made this for Valentine's day but I think i;ts good for any day! :) Even as a "Welcome Baby" card don't you think? Here's my card:


I added some stitching and fussy cut details around the card. Along with some layers of doily and tag. To finish off, I added a Doodlebug jewel at either corner.

Some of the papers used for this project:


Hope my projects inspire you! Have a lovely time you all! :)


Sunday, February 23, 2014

Decorated Wreath Ring Calender

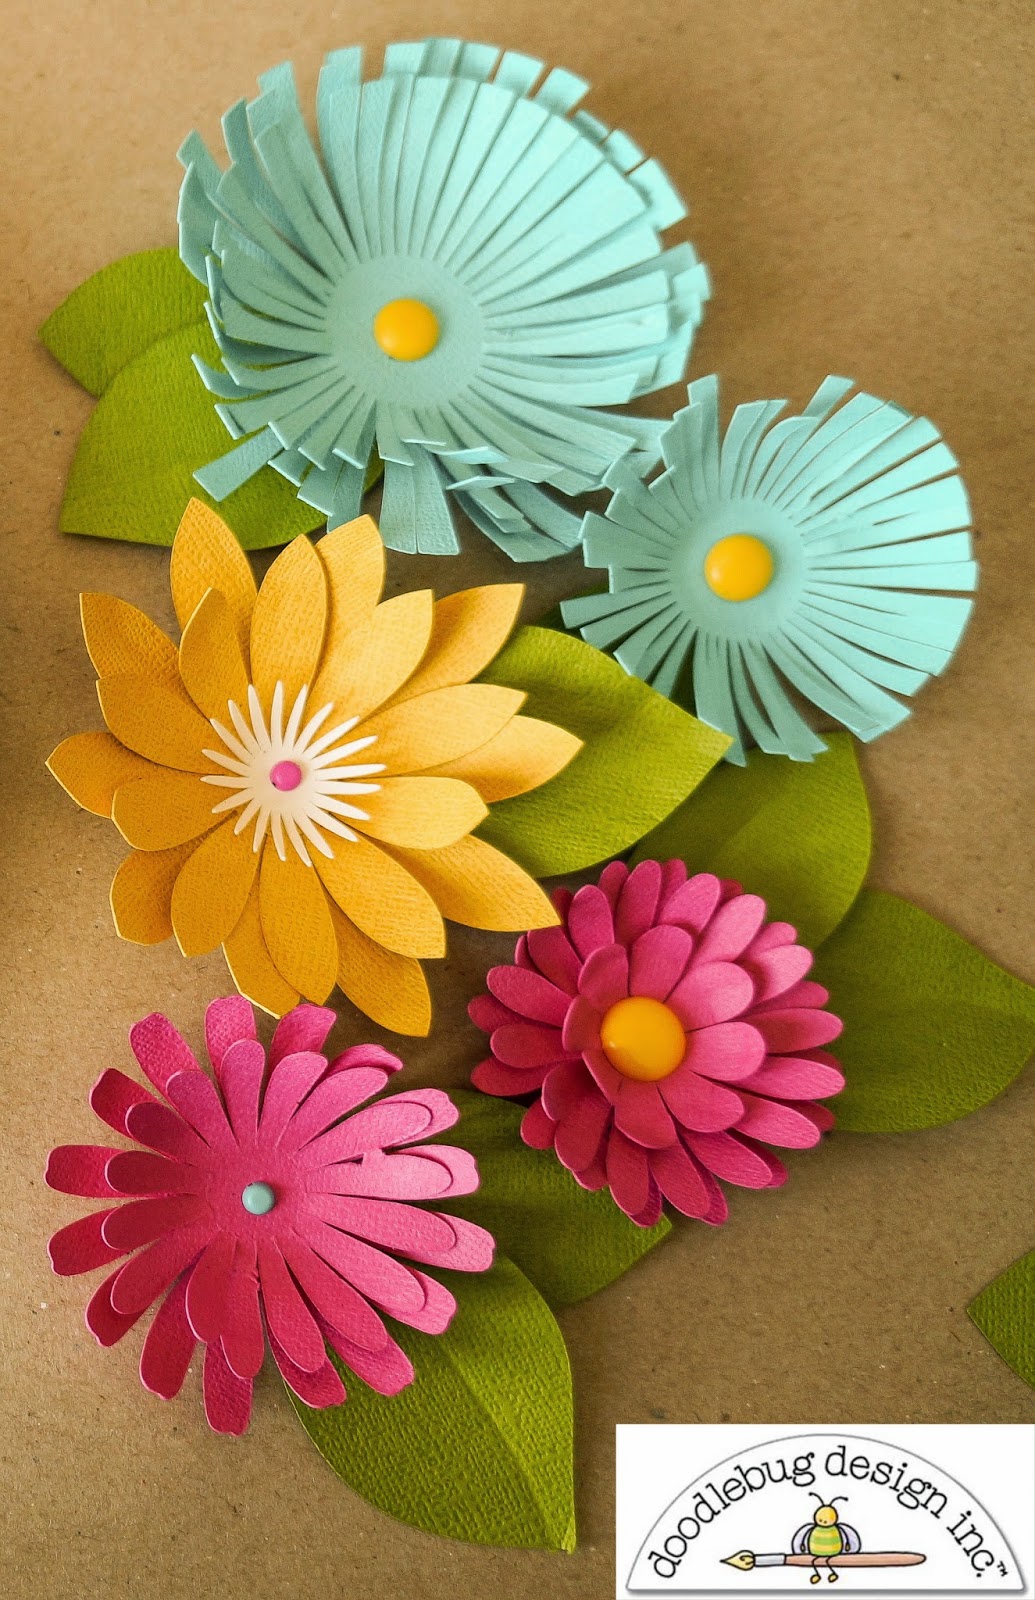
Hello there Doodlebug fans! :) Today I'd like to share with you'll on how I have used my Doodlebug Designs Core Cardstocks. Many of us would usually use cardstock simply for the base of a card. While that's the main purpose of cardstock, there also various other options for putting these vibrant, pretty shades of paper to other use. What I've done here, is to make flowers!


The papers are of beautiful quality and molding it into shape was rather easy. I have also used my Silhouette Cameo to cut out the flowers and assemble them. But for those of you who don't own a cameo,fret not,  there are tonnes of other things you can use to make flowers. 

To begin with, you can use punches and simply layer the flower one punched out shape over the other and stick a brad round the center. Alternatively, you may also resort to the conventional die cutting method. 

Here's a step by step tute on how I put my Calender together. If you don't intend to use this as calender, you can always use it as a deco piece by replacing the ring on the top with a die cut butterfly or any other shape that will blend with the flowers. You may also use it as a Birthday reminder.

*Note that you will need to make 3 of these to form a calender. They may vary in size, one for date, another for month and one more for year ;)


Tutorial


Materials Needed: Wreath Ring, Washi Tape & Handmade flowers from Core Cardstock


Step 1: Begin by covering up the polystyrene wreath with Washi Tape. This makes the ring look more presentable when viewed from other angles :)


Step 2: Using a heat gun or very strong glue, arrange and adhere your handmade flowers onto the ring. Continue to do so until the ring is almost covered


Step 4: Once the ring is covered with flowers, arrange a set of tags which have numbers to reflect as date / month / year through a ring binder ring and clasp it around the polystyrene ring. This, as mentioned earlier can also be replaced with other die cut shapes and such :)


Other Materials: Polystyrene Wreath Ring, Glue Gun, Silhouette Cut Files

This was an awesomely fun project for me to create and make a lovely gift to spruce up that dull space at home or your desk at work. Have a go, and let me know if you liked making it! :)


Wednesday, February 5, 2014

Doodlebug Designs - Mini Love Notes Briefcase

Hello there crafty folks! In the spirit of Valentine's Day and all things sweetheart related :), I'd like to share with you a mini briefcase that holds all those sentimental, sweet little notes! This briefcase was assembled with a Silhouette cut file using the very dandy Doodlebug Designs Sweetheart Collection!

Being one that loves tonnes of layers, this project was nothing short of it. I first adhered some tickets on the top and further layered with a banner, a doodle pop & heart jewel. To add a touch of feminism to it, i added some washi tape along the top edge of the briefcase in a frilly manner. 


Doodlebug Products Used:

Patterned Paper: 4042 Bon Bons, 4052 Sugar, Sugar, 4049 Blushing Blossoms
Washi Tape: 4068 Endless Love 
Stickers: 3627 Valentines
Heart Jewels: 3607 Lily White
Ticket: 4053 Sweetheart Tickets
Doilies: 4065 Cupcake Doilies
Twine: 4067 Love Assortment
Fancy Frills: 4055 Sweetheart

Other Products:

Foam Tape, Silhouette Cut File


This is what the briefcase looks like closed. There's some layering on the top and some ruffled waship tape along the edges


A close-up of the layers that adorn the top of the briefcase


The ruffled washi tape that I've put along the edges of the top half to briefcase

That's it from me this time! Have fun crafting your perfect Valentine's Day memento!

Thursday, January 23, 2014

Doodlbug Designs - Sweetheart Collection Sweet Treat Door Hanger Bottle Label

Hi there! I'm here to share with you a project I have made for my DT stint with Doodlebug Inc. The name for this release is so apt and sums it all up in one word - Sweetheart. It is serenely sweet and the pop of colours that Doodlebug is famous for makes this collection absolutely to die for! I kid you not.. :)

Without further adue, I'd like to share with you lovely crafters, a bottle label cum door hanger. This is made using a cut file from the Silhouette Store. I feel that using this as a door hanger is surely a sweet way to show someone how much they mean to you. Imagine walking towards your room and you see the lil hanger with the cute expressions! It also contains a little pouch round the front should you wish to put a longer letter in. Using it as a bottle label will also be super cute! Here's my project:


Doodlebug Products Used:
Patterned Paper: 4044 True Love Tweed
Stickers: 4055 Sweetheart Fancy Frills
Embellishments: 3626 Mini Love Notes, 4074 Sweetheart Pixies

Other Products:
Foam Tape, Glue Tape Runner, Silhouette Cut File

Some close-ups


\
The bottom half of the hanger/label is a little pouch and it is embellished with the tab sticker, border sticker & mini love notes


The top half is embellished with pixies which are basically little flags screaming cute expressions! :)

I hope this project inspires you to start creating something handmade for that special someone! 


Sunday, November 24, 2013

Doodlebug Products Projects

Hi there lovely crafters! I'm Sharm from Malaysia. I started papercrafting end 2009, after I had my first lil princess. It started off as a bid to keep myself occupied while being a SAHM but soon grew into a very, very addictive hobby!  What I love most about scrapbooking is that it allows me to express myself and provides me with a means of documenting my life day after day with my family. 

It also allows me to create a myriad of projects that my kids can look back at when they're older and cherish the memories they have created with us. I also love all things handmade and scrapbooking allows me to pursue that love. I’m a versatile crafter who loves to try out different techniques and new styles.


Currently I'm on the Faber-Castell Design Memory Craft Guest Design Team and I can be seen at the following social media sites: 

Pinterest Board:

Facebook:

Galleries:
http://www.twopeasinabucket.com (username: nsharmandeswari)
                               http://www.scrapbook.com (user name: Nsharmandeswari)

Today I'm here to share with you some projects that I had recently created using yummo Doodlebug products. I love the beautiful products Doodlebug creates for us & I'm most certain you do too! (especially the bright and colourful patterned papers,, the fun and beautifully layered doodle-pops, jewels, boutique brads & well, just about everything! lol!) They are very versatile, can be used on all sorts of projects and the vibrant products exude a sense of cheerfulness and joy!


This Mini Album was put together using the following Doodlebug Products:
Plain & Simple Flourish Chip Album, Hello Spring double-sided cardstock, Baby Girl Doodle-Pop sticker, Limeade Dot-Grid Petite Prints, Snips & Snails Patterned Paper, Ladybug Dot-Grid Petite Prints, Jewels - Tangerine

Others:
Dies

*Doodlebug die cut borders have endless possibilities. Just as how I have used one here to frame up the oval that is on the centre of the mini album


This Layout was put together using the following Doodlebug Products:
Hello Spring double-sided cardstock, Baby Girl Doodle-Pop sticker, Limeade Dot-Grid Petite Prints, Snips & Snails Patterned Paper, Ladybug Dot-Grid Petite Prints, Chunky Brads, Simply Sweet Cardstock Stickers, Fringe & Flower Border (used the flower from the border to layer with die cut flowers)

Others:
Plain Cardstock, Alphabet Thickers, Paper Clips, Dies


This Card was put together using the following Doodlebug Products:
Set-Sail Doodle-Pop, Hello Spring double-sided cardstock, Ladybug Dot-Grid Petite Prints, swimming pool candy dots sugar cardstock, doodle twine - bumblebee , Yellow Fringe Border

Others:
Shape Dies, Punches


This Bird House Altered Canvas Scenery was created using the following Doodlebug Products:
Hello Spring Cardstock, hangin out (girl) double-sided cardstock , Limeade Dot-Grid Petite Prints, double sided scallop border, Jewels - Tangerine, Colourful Polka Dot patterned Paper

Others:
Silhouette cutting file, shape punch (for grass)


Hope you had fun looking at my projects! :)