Showing posts with label Tutorial. Show all posts

Friday, June 13, 2014

Spring Themed Exploding Box

Hello again Doodlebug fans! Sharm here to share a little Easter project..an Exploding Box. So what exactly is this exploding box? It's a box that looks perfectly normal on the outside, but when you lift the lid, it's opens the box into a flat paper with lots of pop-ups and layers! Like a Jack-in-the-box, only the scrapbooking way lol! :)

So here's how I made my project:
Step 1: Score a 12x12 sheet of paper at 4" & 8". Cut to off the for corner squares
Step 2: For the lid, score at 4 1/8" & 8 1/8"
Step 3: Fold the make a box & its lid
Step 4: Embellish!


Some Close-ups:

The perfectly normal looking box :)

Ta da! Once you open the box

The Left side, embellished

The right side, embellished

This is what it looks like once opened

Top of the Box

Doodlebug Designs Inc Materials Used:

Well, let me know if you have a go at making this project! :) Hope you'll enjoy it as much as I did!!


Sunday, February 23, 2014

Decorated Wreath Ring Calender

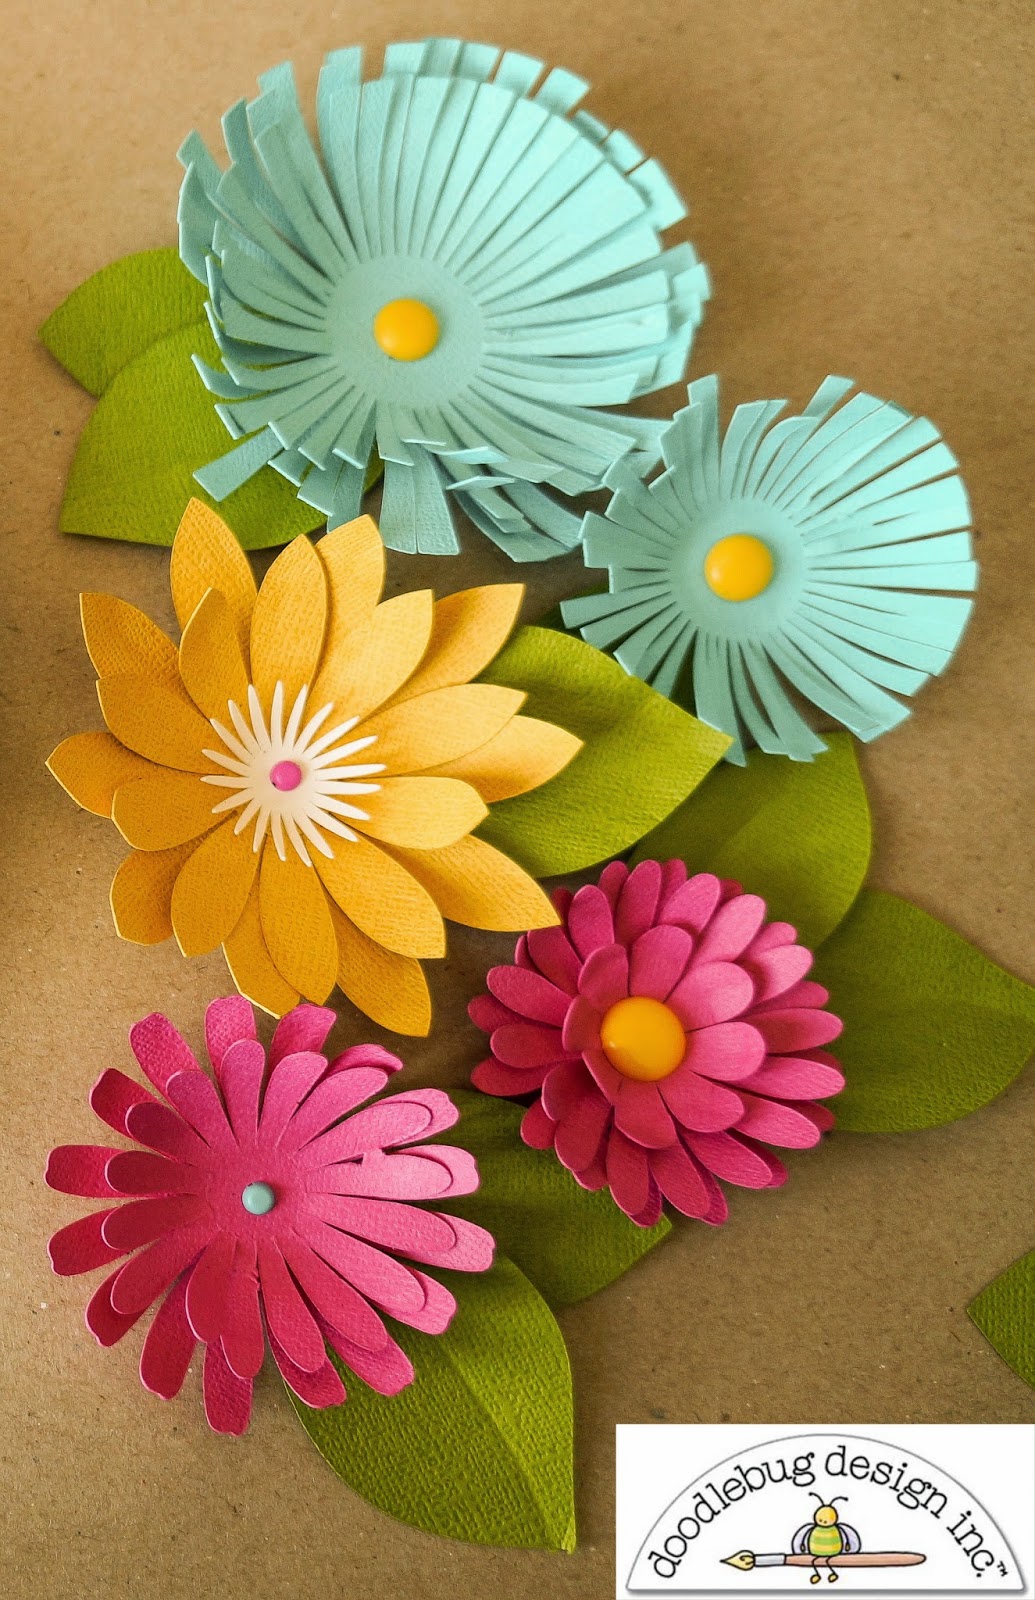
Hello there Doodlebug fans! :) Today I'd like to share with you'll on how I have used my Doodlebug Designs Core Cardstocks. Many of us would usually use cardstock simply for the base of a card. While that's the main purpose of cardstock, there also various other options for putting these vibrant, pretty shades of paper to other use. What I've done here, is to make flowers!


The papers are of beautiful quality and molding it into shape was rather easy. I have also used my Silhouette Cameo to cut out the flowers and assemble them. But for those of you who don't own a cameo,fret not,  there are tonnes of other things you can use to make flowers. 

To begin with, you can use punches and simply layer the flower one punched out shape over the other and stick a brad round the center. Alternatively, you may also resort to the conventional die cutting method. 

Here's a step by step tute on how I put my Calender together. If you don't intend to use this as calender, you can always use it as a deco piece by replacing the ring on the top with a die cut butterfly or any other shape that will blend with the flowers. You may also use it as a Birthday reminder.

*Note that you will need to make 3 of these to form a calender. They may vary in size, one for date, another for month and one more for year ;)


Tutorial


Materials Needed: Wreath Ring, Washi Tape & Handmade flowers from Core Cardstock


Step 1: Begin by covering up the polystyrene wreath with Washi Tape. This makes the ring look more presentable when viewed from other angles :)


Step 2: Using a heat gun or very strong glue, arrange and adhere your handmade flowers onto the ring. Continue to do so until the ring is almost covered


Step 4: Once the ring is covered with flowers, arrange a set of tags which have numbers to reflect as date / month / year through a ring binder ring and clasp it around the polystyrene ring. This, as mentioned earlier can also be replaced with other die cut shapes and such :)


Other Materials: Polystyrene Wreath Ring, Glue Gun, Silhouette Cut Files

This was an awesomely fun project for me to create and make a lovely gift to spruce up that dull space at home or your desk at work. Have a go, and let me know if you liked making it! :)


Tuesday, June 22, 2010

How to Make a Simple Paper Flower Embellie

Hey there ladies! I'm sorry I delayed this one..Here's the how-to on making a very very simple flower embellie. Hope you will like it as much as I do ;)

First, punch out one scallop circle using any cardstock or PP of your choice. The scallop circle has to be 3". You can use any other puncher size but a 3" one will give you some really pretty petals :) . There's the punched out piece.

Next, punch out a 3 petalled flower using the Carla Craft punch.

And lastly, using the Circle punch, punch out one circle.

Once you have all three shapes, put a little bit of glue on the 6 petalled flower & glue it to the scallop circle.


Using your scissors, cut from the dip (yes dip & not tip *lol*) of the Scallop circle till you reach the dip of the petalled flower. If you're using a 3" scallop circle, you will need to cut a every four scallop. Once that's done, affix the small circle to the middle. (You can also use foam dots to layer the flower to give it dimension)

Using your fingers, give a gentle bend at both ends for each cluster that's been cut, inwards, to give a curve look

Tada!!! The final product!!

Ok ladies, am off now...3 posts in one day!! goodness I need a break *lol* Hope this how-to helps you when you're stumped for embellies! ;)